Building your own mining rig can seem daunting, but it’s a rewarding endeavor that can potentially unlock significant profits in the cryptocurrency world. This comprehensive guide will walk you through everything you need to know, from understanding the components and building process to optimizing your rig for maximum efficiency and profitability. Whether you’re a seasoned miner or just starting out, this post will provide the knowledge to confidently navigate the world of mining rigs.
What is a Mining Rig?
Defining a Mining Rig
A mining rig is a custom-built computer system specifically designed for cryptocurrency mining. Unlike a general-purpose computer, a mining rig prioritizes computational power dedicated to solving complex algorithms to validate transactions on a blockchain and earn cryptocurrency rewards. These rewards are typically in the form of the cryptocurrency being mined, such as Ethereum (ETH) or Ravencoin (RVN).
Key Components of a Mining Rig
Understanding the core components is crucial before embarking on your mining rig journey:
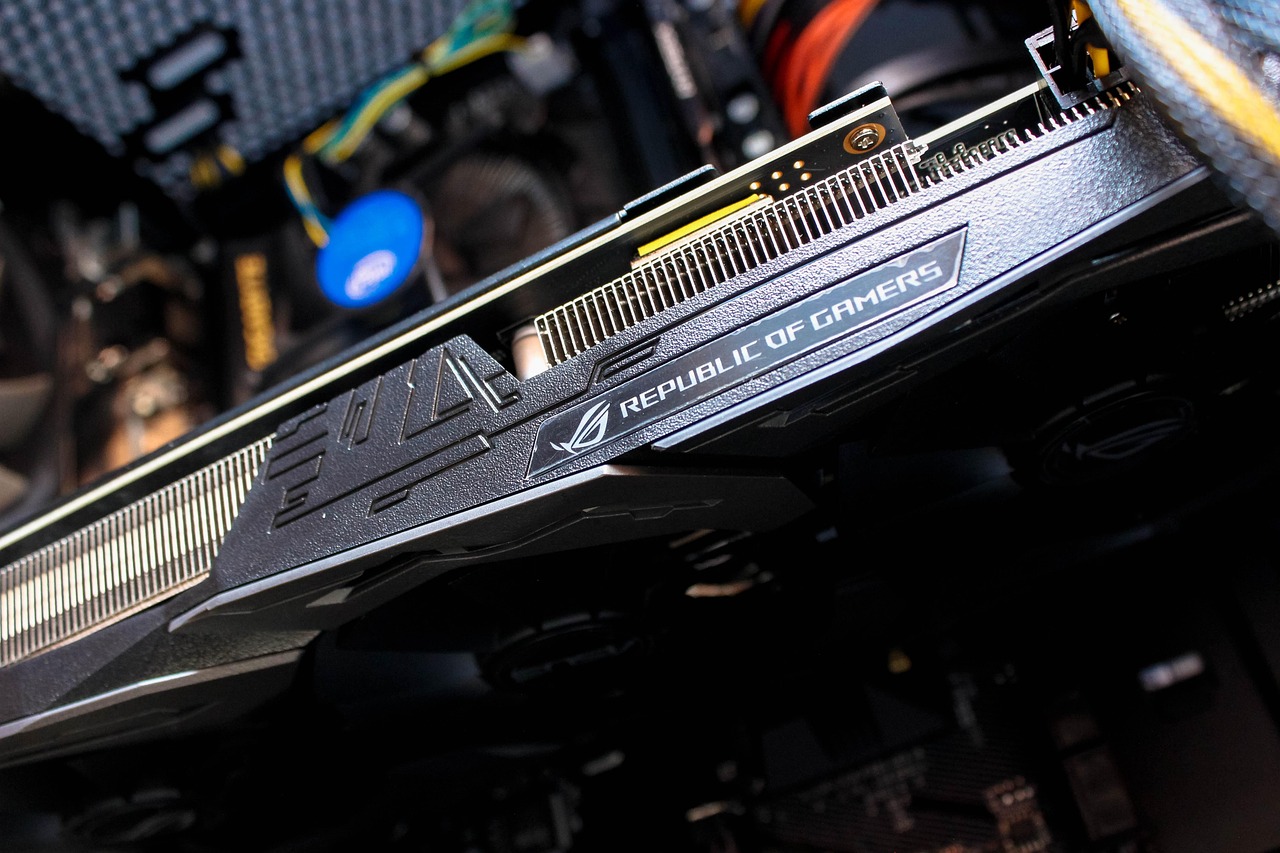
- GPUs (Graphics Processing Units): The workhorses of the rig, GPUs perform the complex calculations required for mining. The number and type of GPUs significantly impact mining performance.
- Motherboard: The central hub that connects all components. Choose a motherboard with multiple PCIe slots to accommodate multiple GPUs.
Example: A popular choice is a motherboard specifically designed for mining, such as the ASUS B250 Mining Expert, which supports up to 19 GPUs.
- CPU (Central Processing Unit): While not the primary mining processor, the CPU is essential for running the operating system and managing the mining process. A basic, low-power CPU is sufficient.
- RAM (Random Access Memory): Provides temporary storage for data used by the CPU. 4GB-8GB is generally sufficient for a mining rig.
- Power Supply Unit (PSU): A critical component that provides power to all the components. Ensure the PSU has sufficient wattage to handle all the GPUs and other components, with some headroom for stability.
Example: Use a PSU calculator (search “PSU wattage calculator”) to determine the necessary wattage based on the number and type of GPUs. Overestimate slightly to ensure headroom.
- Storage (SSD or USB Drive): Houses the operating system and mining software. A small, inexpensive SSD or a USB drive is adequate.
- Risers: PCIe riser cables allow you to connect the GPUs outside of the motherboard, providing better airflow and preventing overcrowding.
- Frame: Holds all the components together. You can buy a pre-built mining frame or build one yourself from aluminum or wood.
- Cooling: Essential for maintaining optimal operating temperatures. This includes fans, heatsinks, and potentially water cooling for high-end GPUs.
Building Your Mining Rig: A Step-by-Step Guide
Planning and Preparation
Before purchasing any components, thorough planning is crucial.
- Choose a Cryptocurrency: Research different cryptocurrencies and their mining algorithms to determine which is most profitable for your setup.
- Calculate Profitability: Use online mining calculators to estimate potential profits based on your hardware, electricity costs, and network difficulty. Consider using resources like WhatToMine.com.
- Budgeting: Determine a realistic budget and stick to it. Remember to factor in electricity costs, which can be a significant expense.
- Component Selection: Choose compatible components that meet your performance and budget requirements.
Assembly Process
Follow these steps to assemble your mining rig:
Installing the Operating System and Mining Software
- Operating System: Choose a lightweight operating system like Linux (e.g., HiveOS, ethOS) or Windows. HiveOS is popular as it is specifically designed for mining.
- Mining Software: Download and install mining software compatible with your chosen cryptocurrency and GPUs (e.g., Claymore, PhoenixMiner, T-Rex).
- Configuration: Configure the mining software with your cryptocurrency wallet address and pool information.
Optimizing Your Mining Rig for Performance and Efficiency
Overclocking
Overclocking involves increasing the clock speeds of your GPUs to boost their mining performance. However, it’s essential to do this carefully to avoid overheating or damaging the hardware.
- Gradual Adjustments: Increase clock speeds incrementally and monitor temperatures closely.
- Stability Testing: Use stress-testing tools to ensure the GPUs are stable under overclocked conditions.
Undervolting
Undervolting involves reducing the voltage supplied to the GPUs, which can lower power consumption and heat generation without significantly impacting performance.
- Experimentation: Experiment with different voltage settings to find the optimal balance between power consumption and performance.
- Monitoring: Monitor GPU temperatures and hash rates after undervolting to ensure stability.
Proper Cooling
Maintaining optimal GPU temperatures is critical for long-term stability and performance.
- Airflow: Ensure good airflow around the GPUs by using multiple fans or strategically placing the rig in a well-ventilated area.
- Heatsinks: Use high-quality heatsinks to dissipate heat from the GPUs.
- Water Cooling: Consider water cooling for high-end GPUs that generate a lot of heat.
Mining Pools
Joining a mining pool allows you to combine your computing power with other miners, increasing your chances of earning rewards.
- Pool Selection: Choose a reputable mining pool with low fees and stable payouts.
- Pool Configuration: Configure your mining software with the pool’s address and your worker information.
Troubleshooting Common Mining Rig Issues
Hardware Problems
- GPU Not Recognized: Ensure the GPU is properly connected to the motherboard and the riser cable is functional. Update GPU drivers.
- Overheating: Check the cooling system and ensure there is adequate airflow. Reduce overclocking settings or increase fan speeds.
- PSU Overload: Verify that the PSU has sufficient wattage to power all components. Consider upgrading to a higher wattage PSU.
Software Problems
- Mining Software Crashes: Ensure the mining software is compatible with your operating system and GPUs. Update to the latest version or try a different mining software.
- Network Connectivity Issues: Verify that the rig has a stable internet connection. Check network cables and router settings.
- Incorrect Configuration: Double-check the mining software configuration to ensure the wallet address and pool information are correct.
Monitoring and Maintenance
Regular monitoring and maintenance are crucial for ensuring the longevity and profitability of your mining rig.
- Temperature Monitoring: Monitor GPU temperatures using hardware monitoring software (e.g., HWMonitor).
- Hash Rate Monitoring: Monitor the hash rate of your GPUs to ensure they are performing optimally.
- Regular Cleaning: Clean the rig regularly to remove dust and prevent overheating.
- Software Updates: Keep the operating system, mining software, and GPU drivers up to date.
Conclusion
Building and maintaining a mining rig can be a complex but potentially lucrative undertaking. By understanding the key components, following the assembly steps, optimizing for performance and efficiency, and troubleshooting common issues, you can maximize your mining profits and contribute to the growth of the cryptocurrency ecosystem. Remember to always prioritize safety and conduct thorough research before making any investments. Happy mining!